Elevating My Evening Routine With Smile Brilliant
If you’ve been here, following along, for any amount of time now, you know that I absolutely love a good beauty routine and am a bit of a product junkie. It’s so fulfilling to lie my head on my pillow at night knowing that I’ve checked all the routine boxes. Cleansed, moisturized, toned, brushed, and now…. whitened!
I have tried teeth whitening systems in the past, but hated how they made my teeth feel and how awful many of them tasted. But because I’m a fairly heavy coffee and red wine drinker, I came to the realization that it’s time to tend to my pearlies! SMILE BRILLIANT has quick become my favorite teeth whitening system, not just because it has worked and my teeth are whiter (but ultimately, YES, this is a huge win) but because of the simplicity and convenience of the process.

WHY SMILE BRILLIANT?
THOROUGH instruction cards to walk you through the full process, start to finish
EASY at home process for forming upper and lower impressions + pre-addressed shipping envelope to send molds to the Smile Brilliant lab so they can craft your custom-to-fit whitening trays
CUSTOMIZABLE system allows you to select your kit based on your level of sensitivity, severity of teeth staining, and consumption of beverages such as coffee, tea, and wine
AFFORDABLE cost, but high quality!
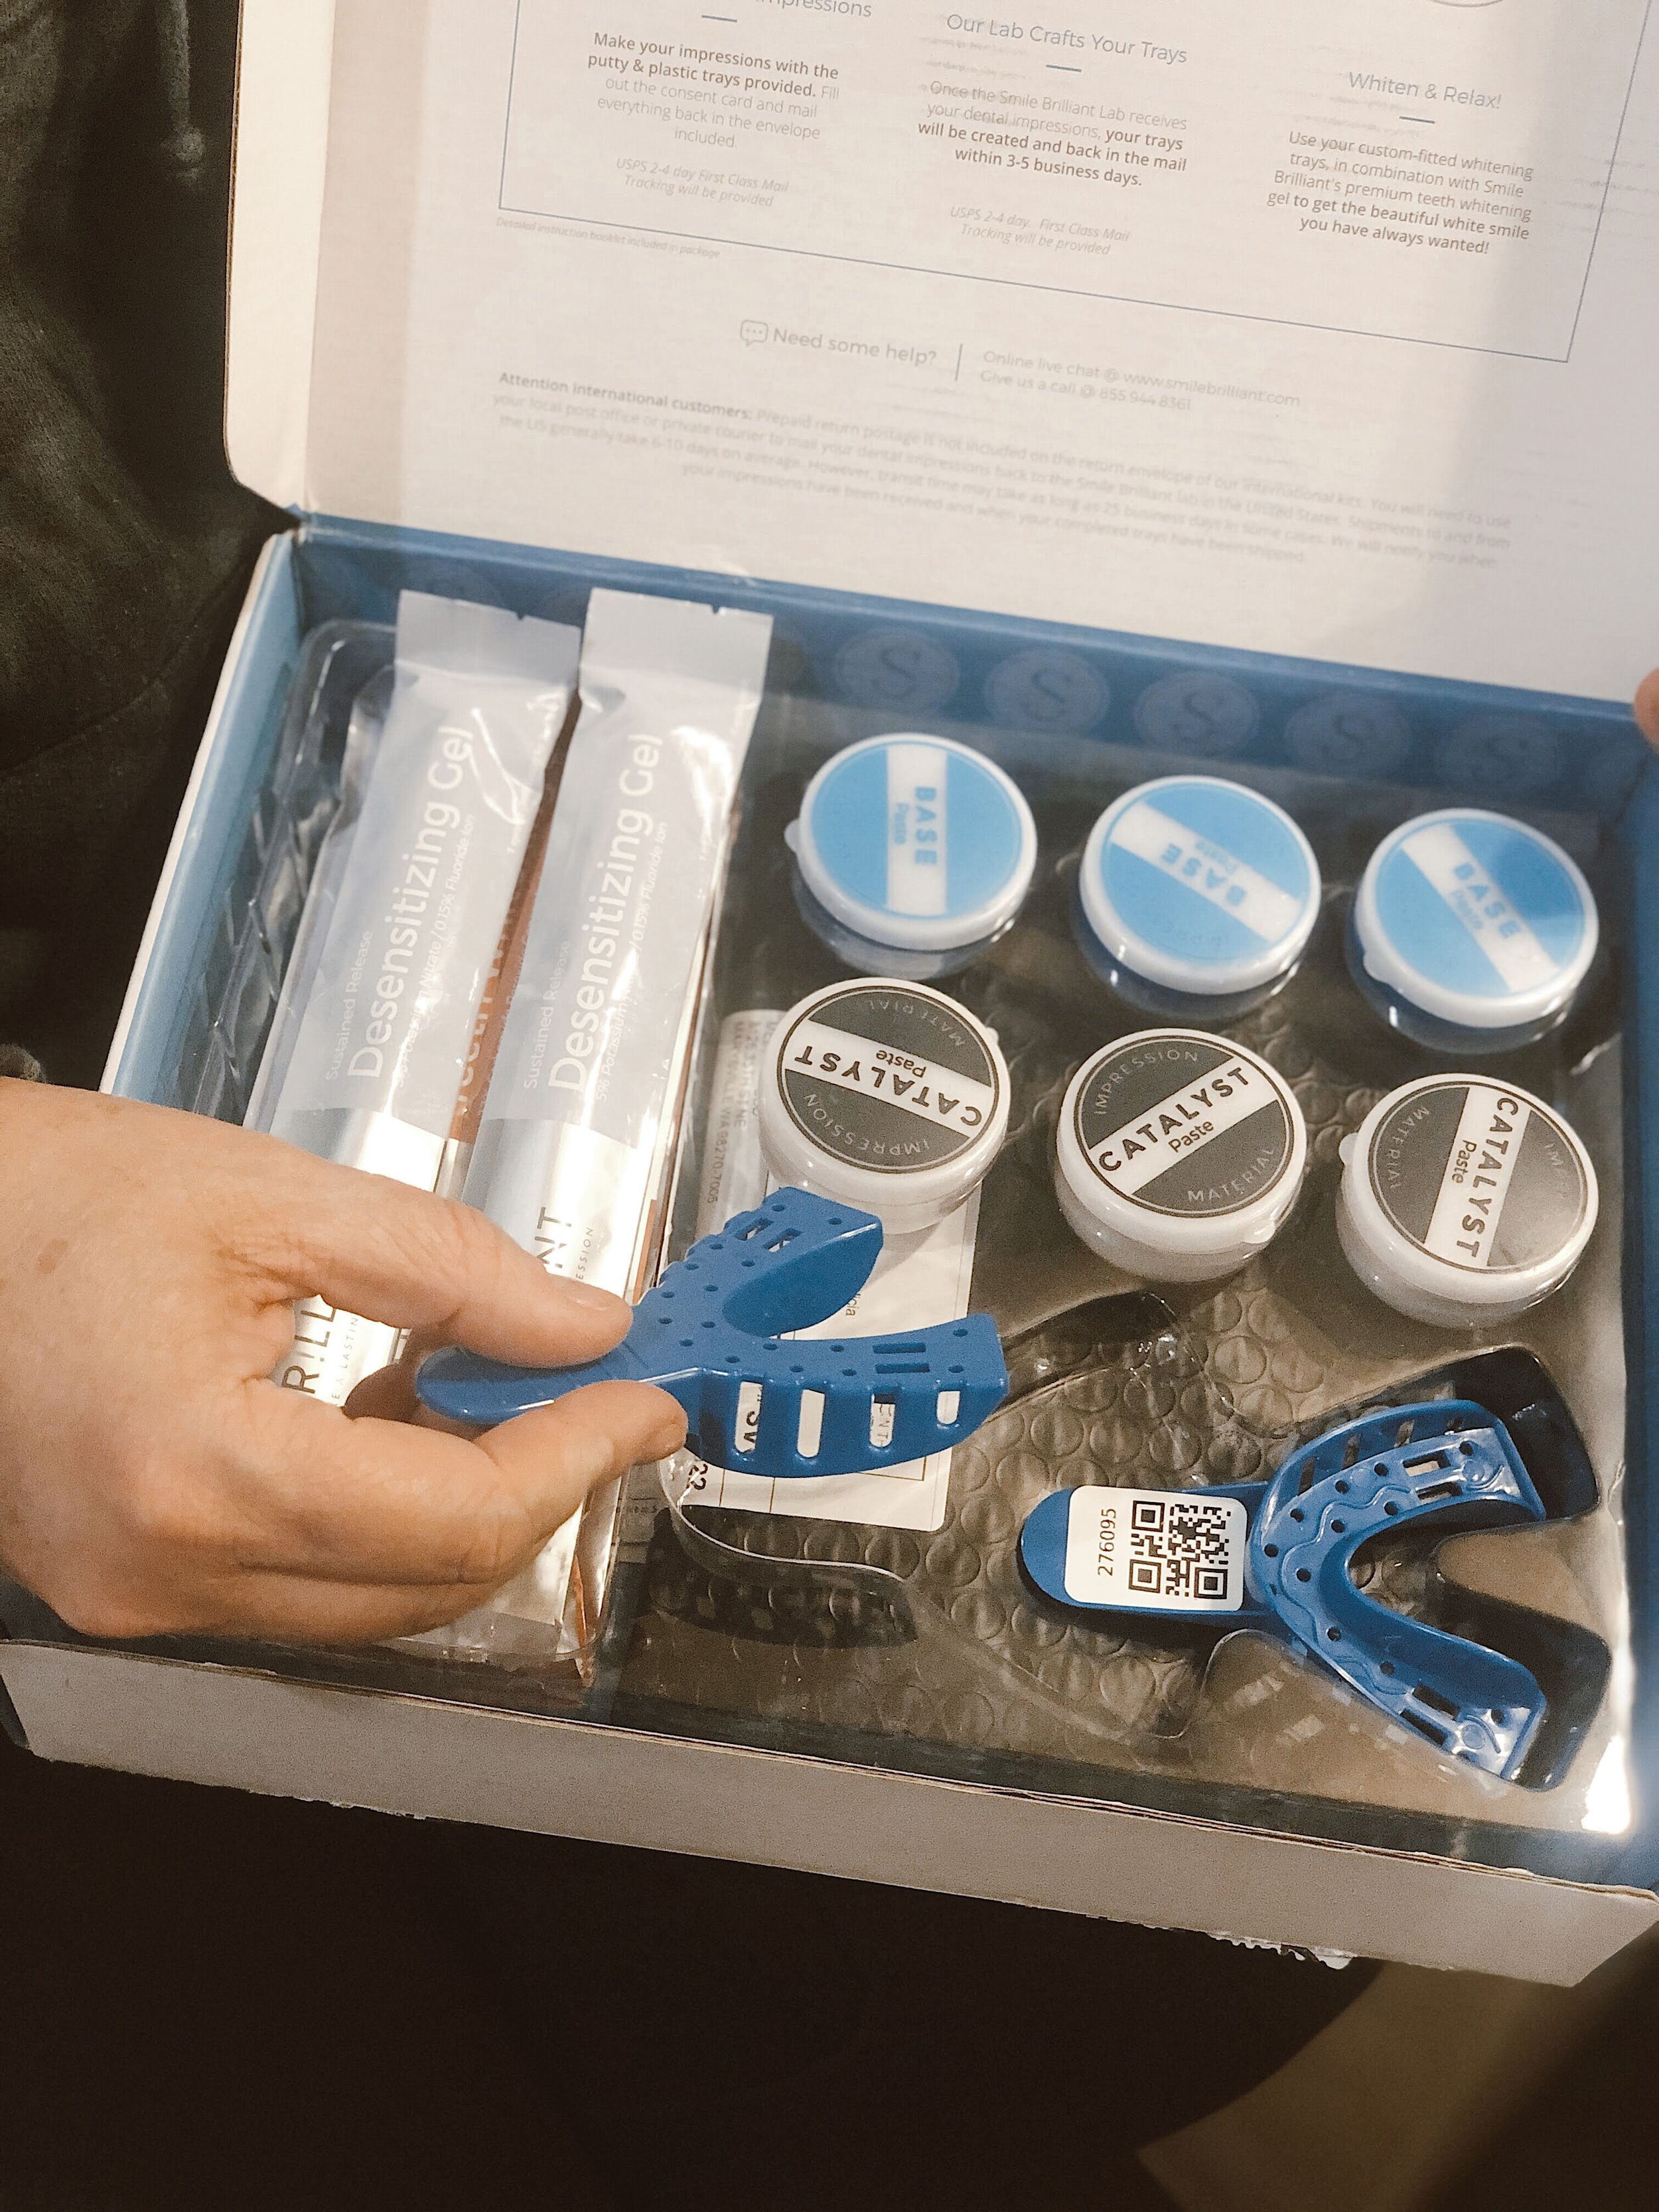
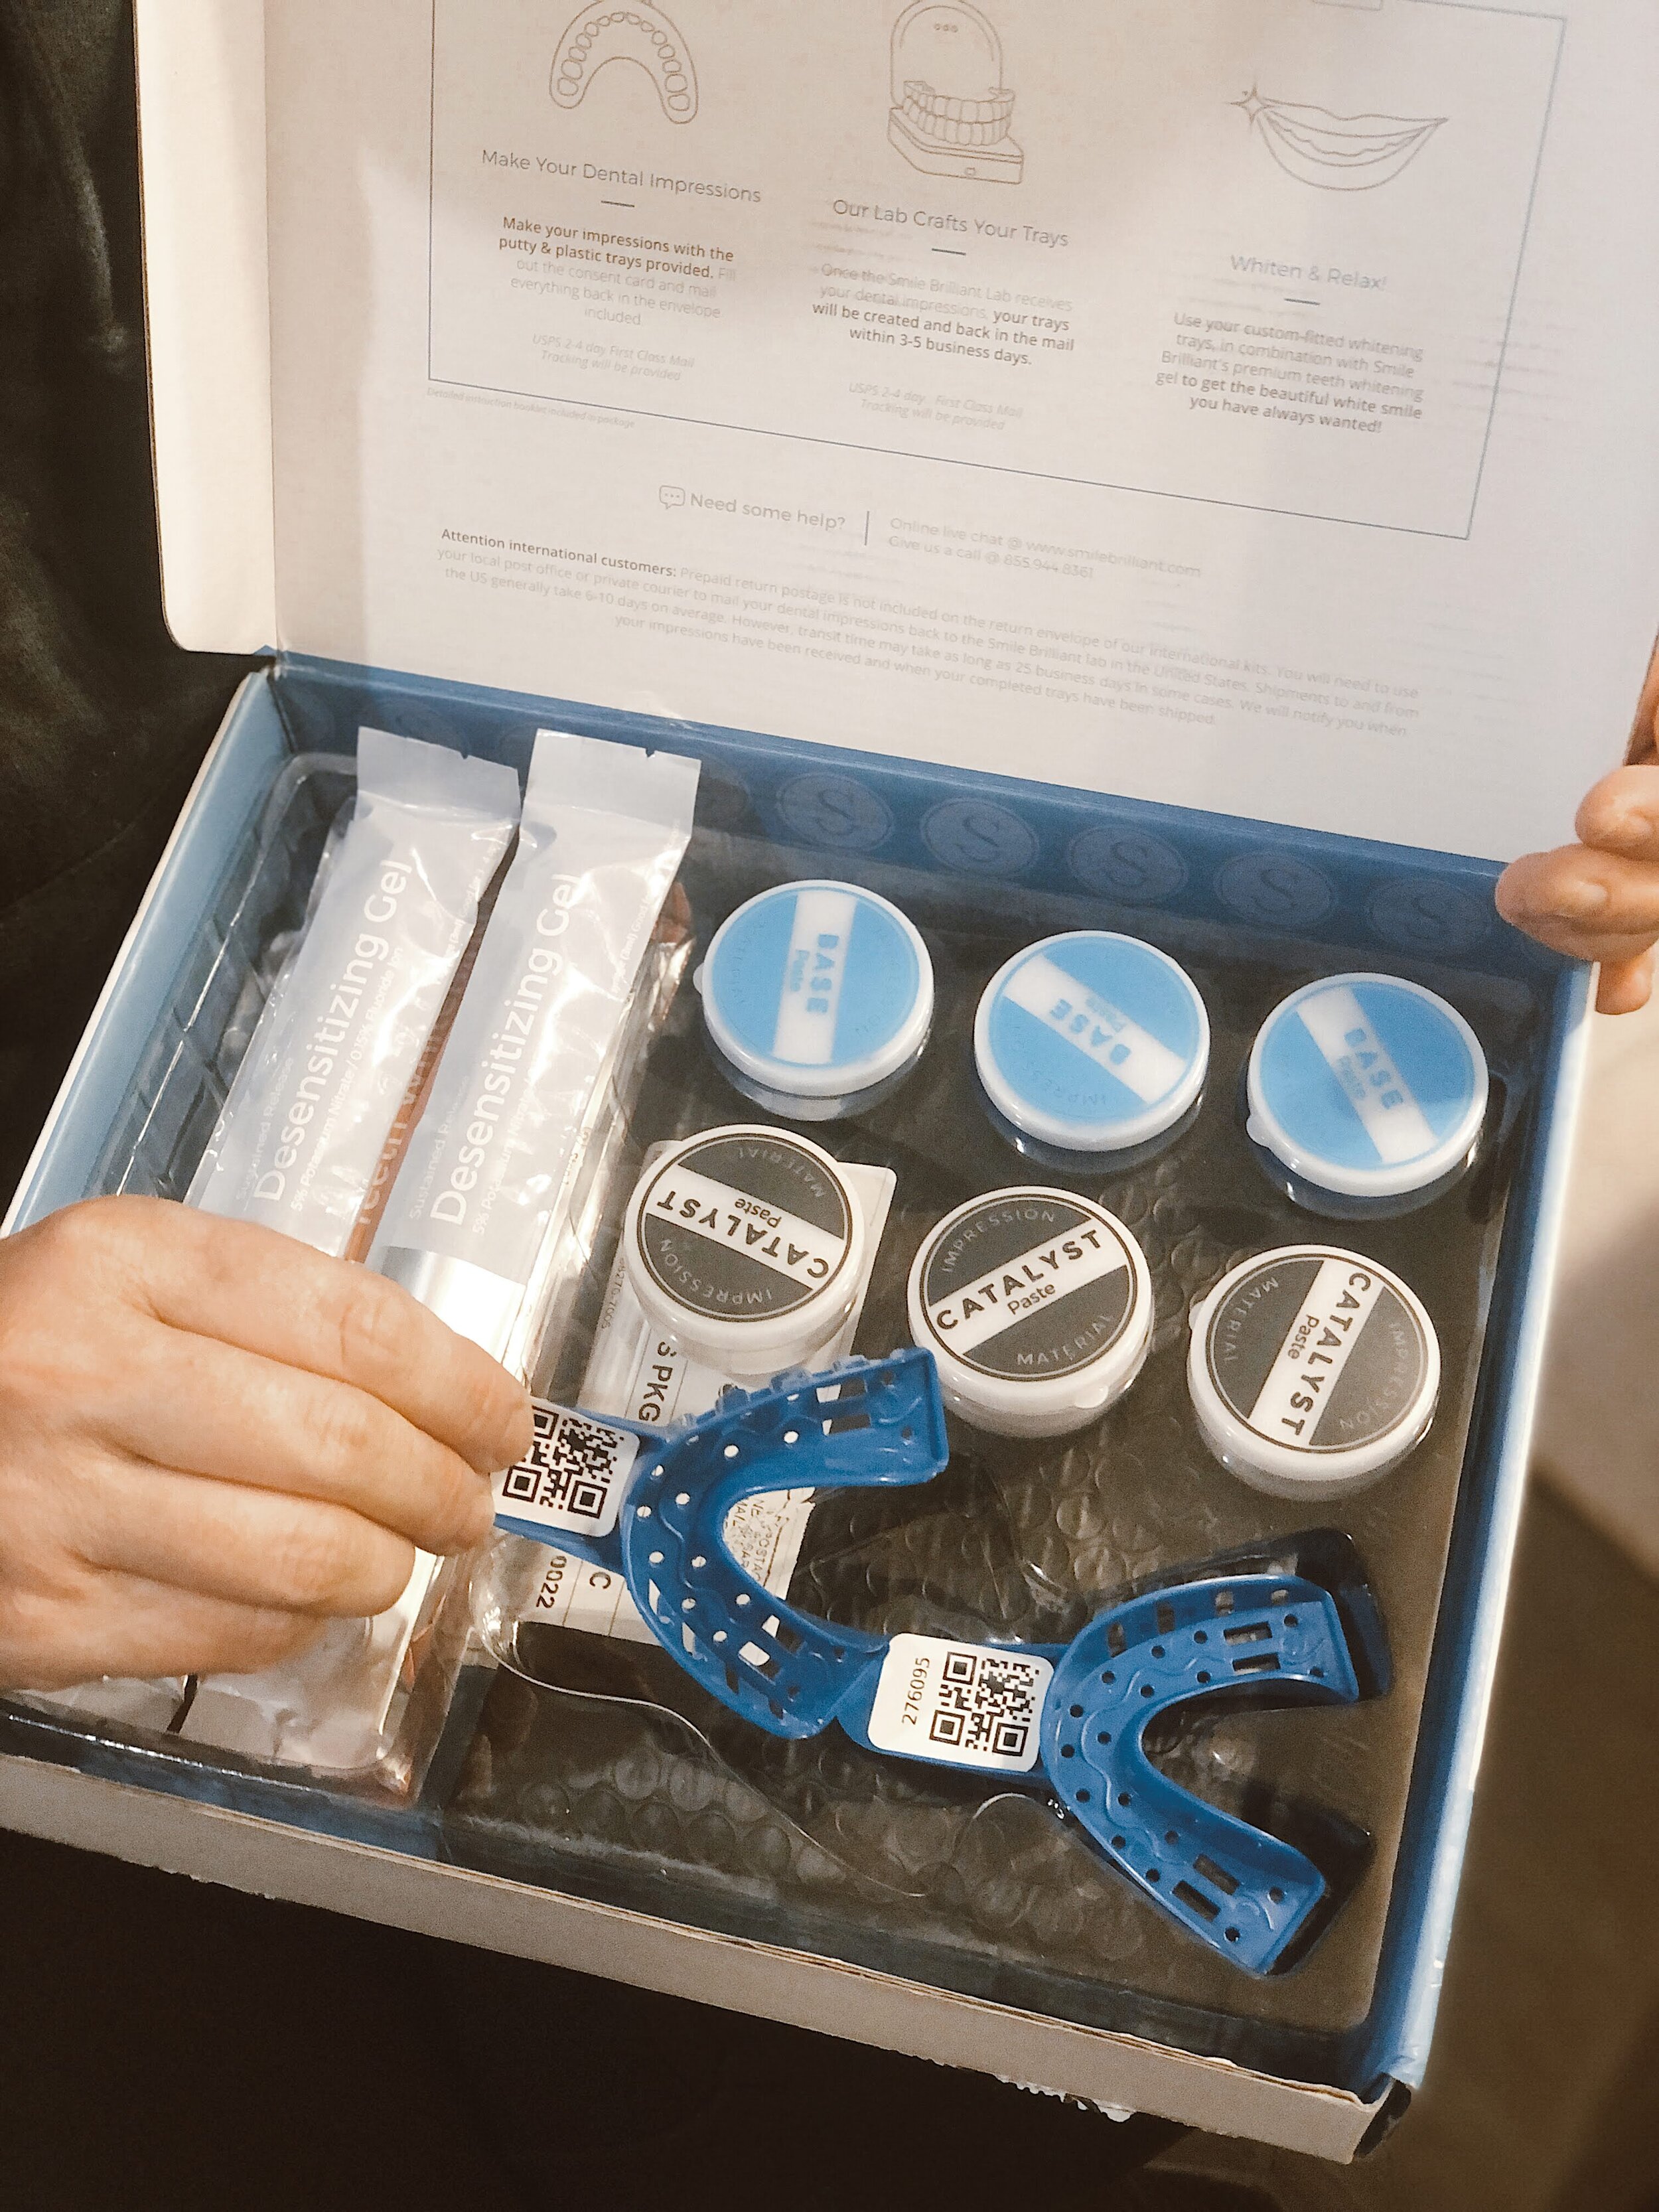
I chose the T3 SENSITIVE SYSTEM (light stains) which includes:
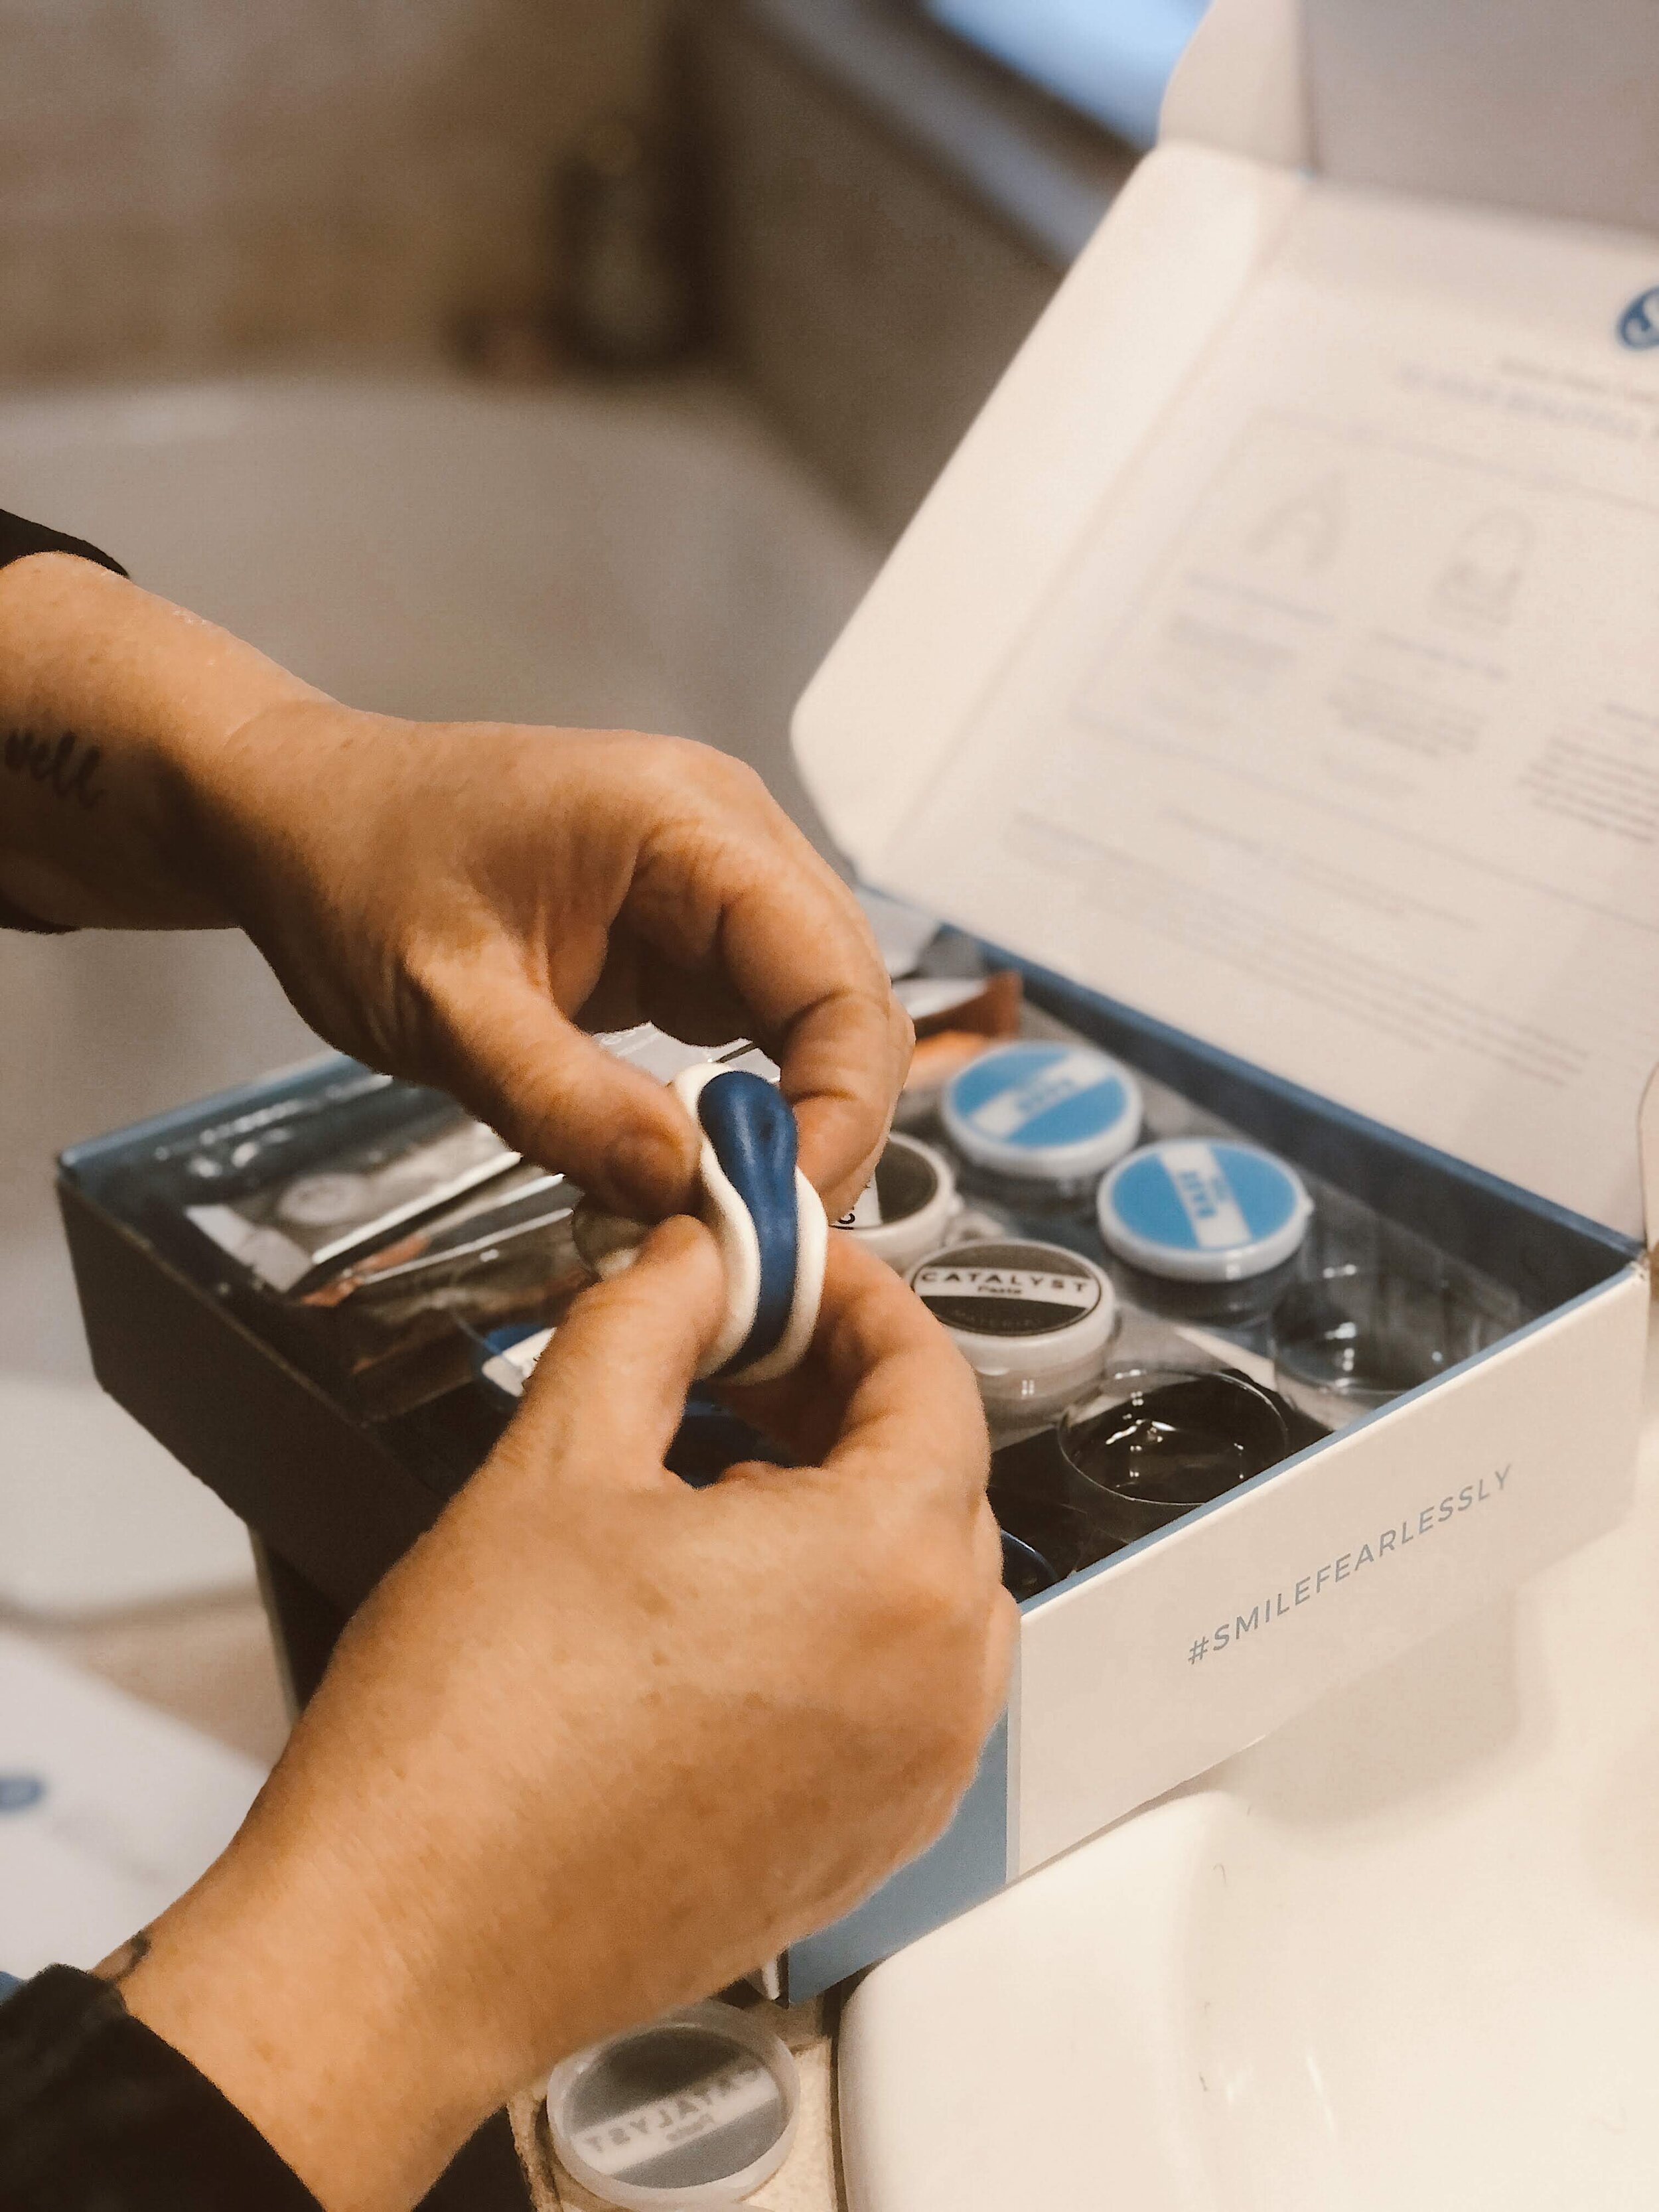
Catalyst Paste + Base Paste to form your impressions for your custom whitening trays
9 applications of whitening gel
9 applications of desensitizing gel
Depending on the system you choose, the whitening gel and desensitizing gel will vary in quantity.
Before beginning the impressions process, ensure you unbox your kit and familiarize yourself with the elements. Read and sign the card that will be submitted with your impressions and send back to the Smile Brilliant lab using the included padded envelope.
Creating my impressions was super simple and my oldest daughter enjoyed watching me play “craft time” by pressing the white and blue pastes together to form the impressions clay. After taking my molds and allowing them some time to set, I gently placed them in the provided shipping envelope and they were in the mail the next day! I received my whitening trays in just over a week. Seriously….. that simple and fast.
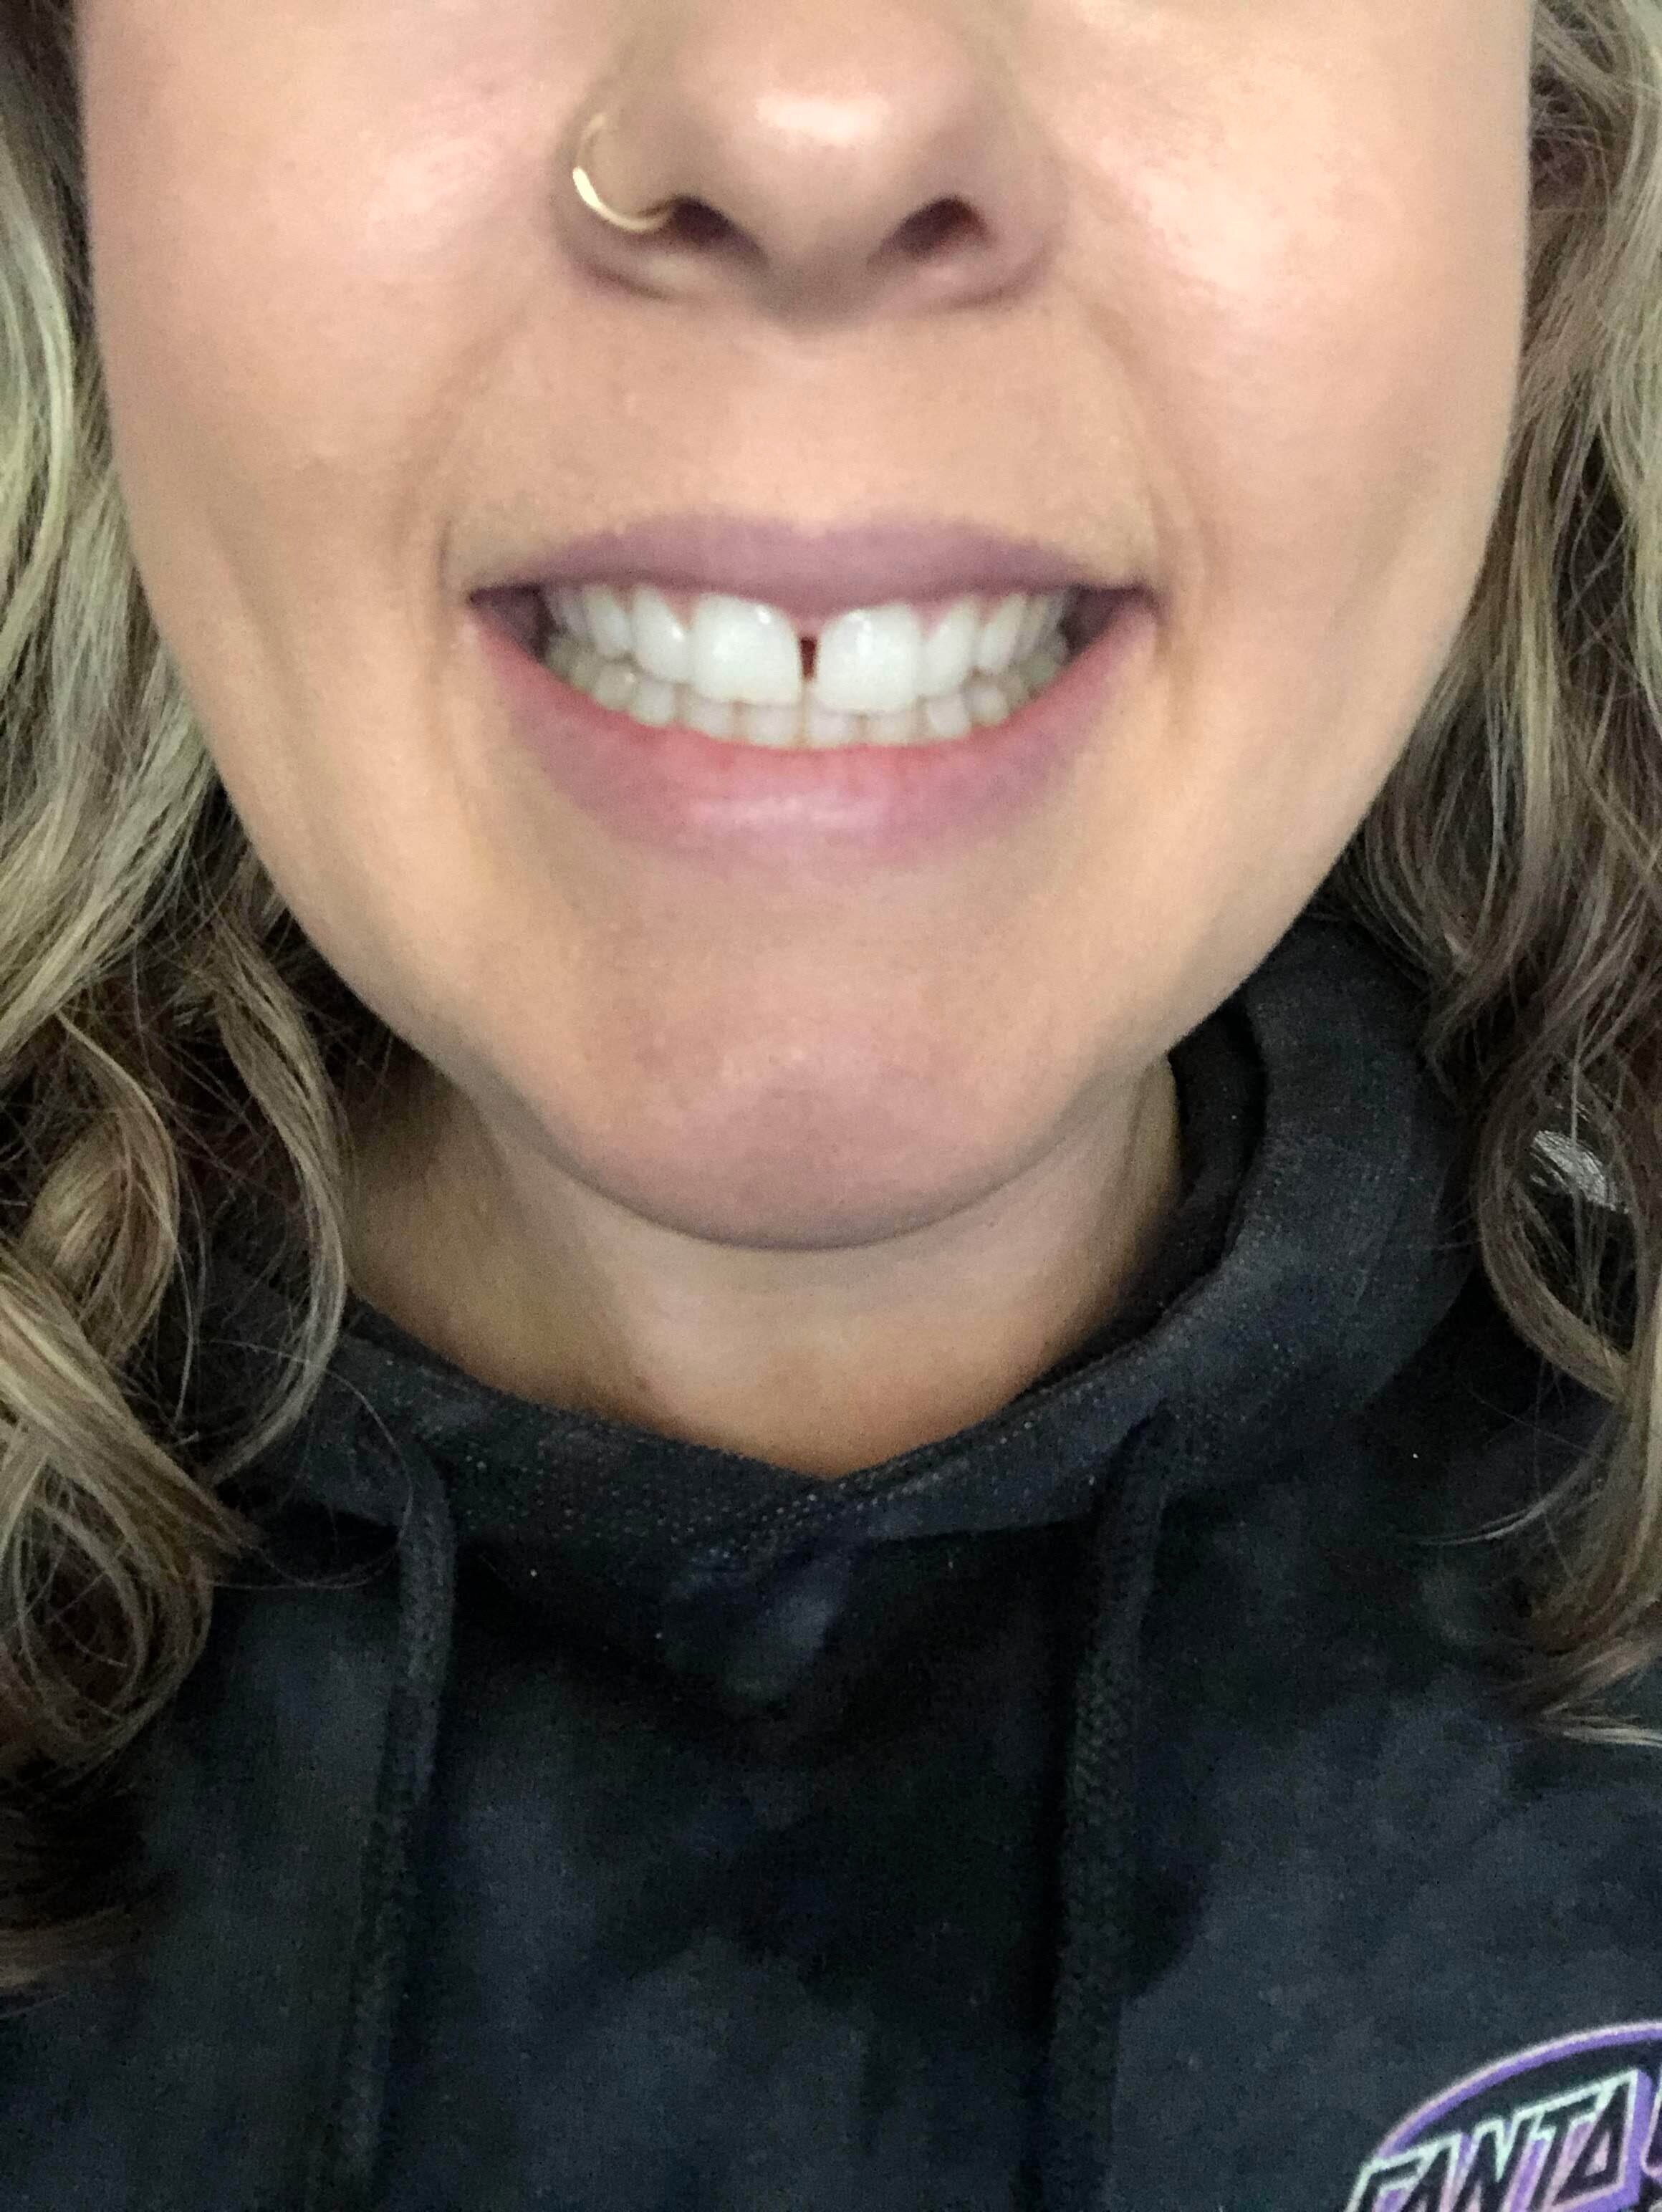
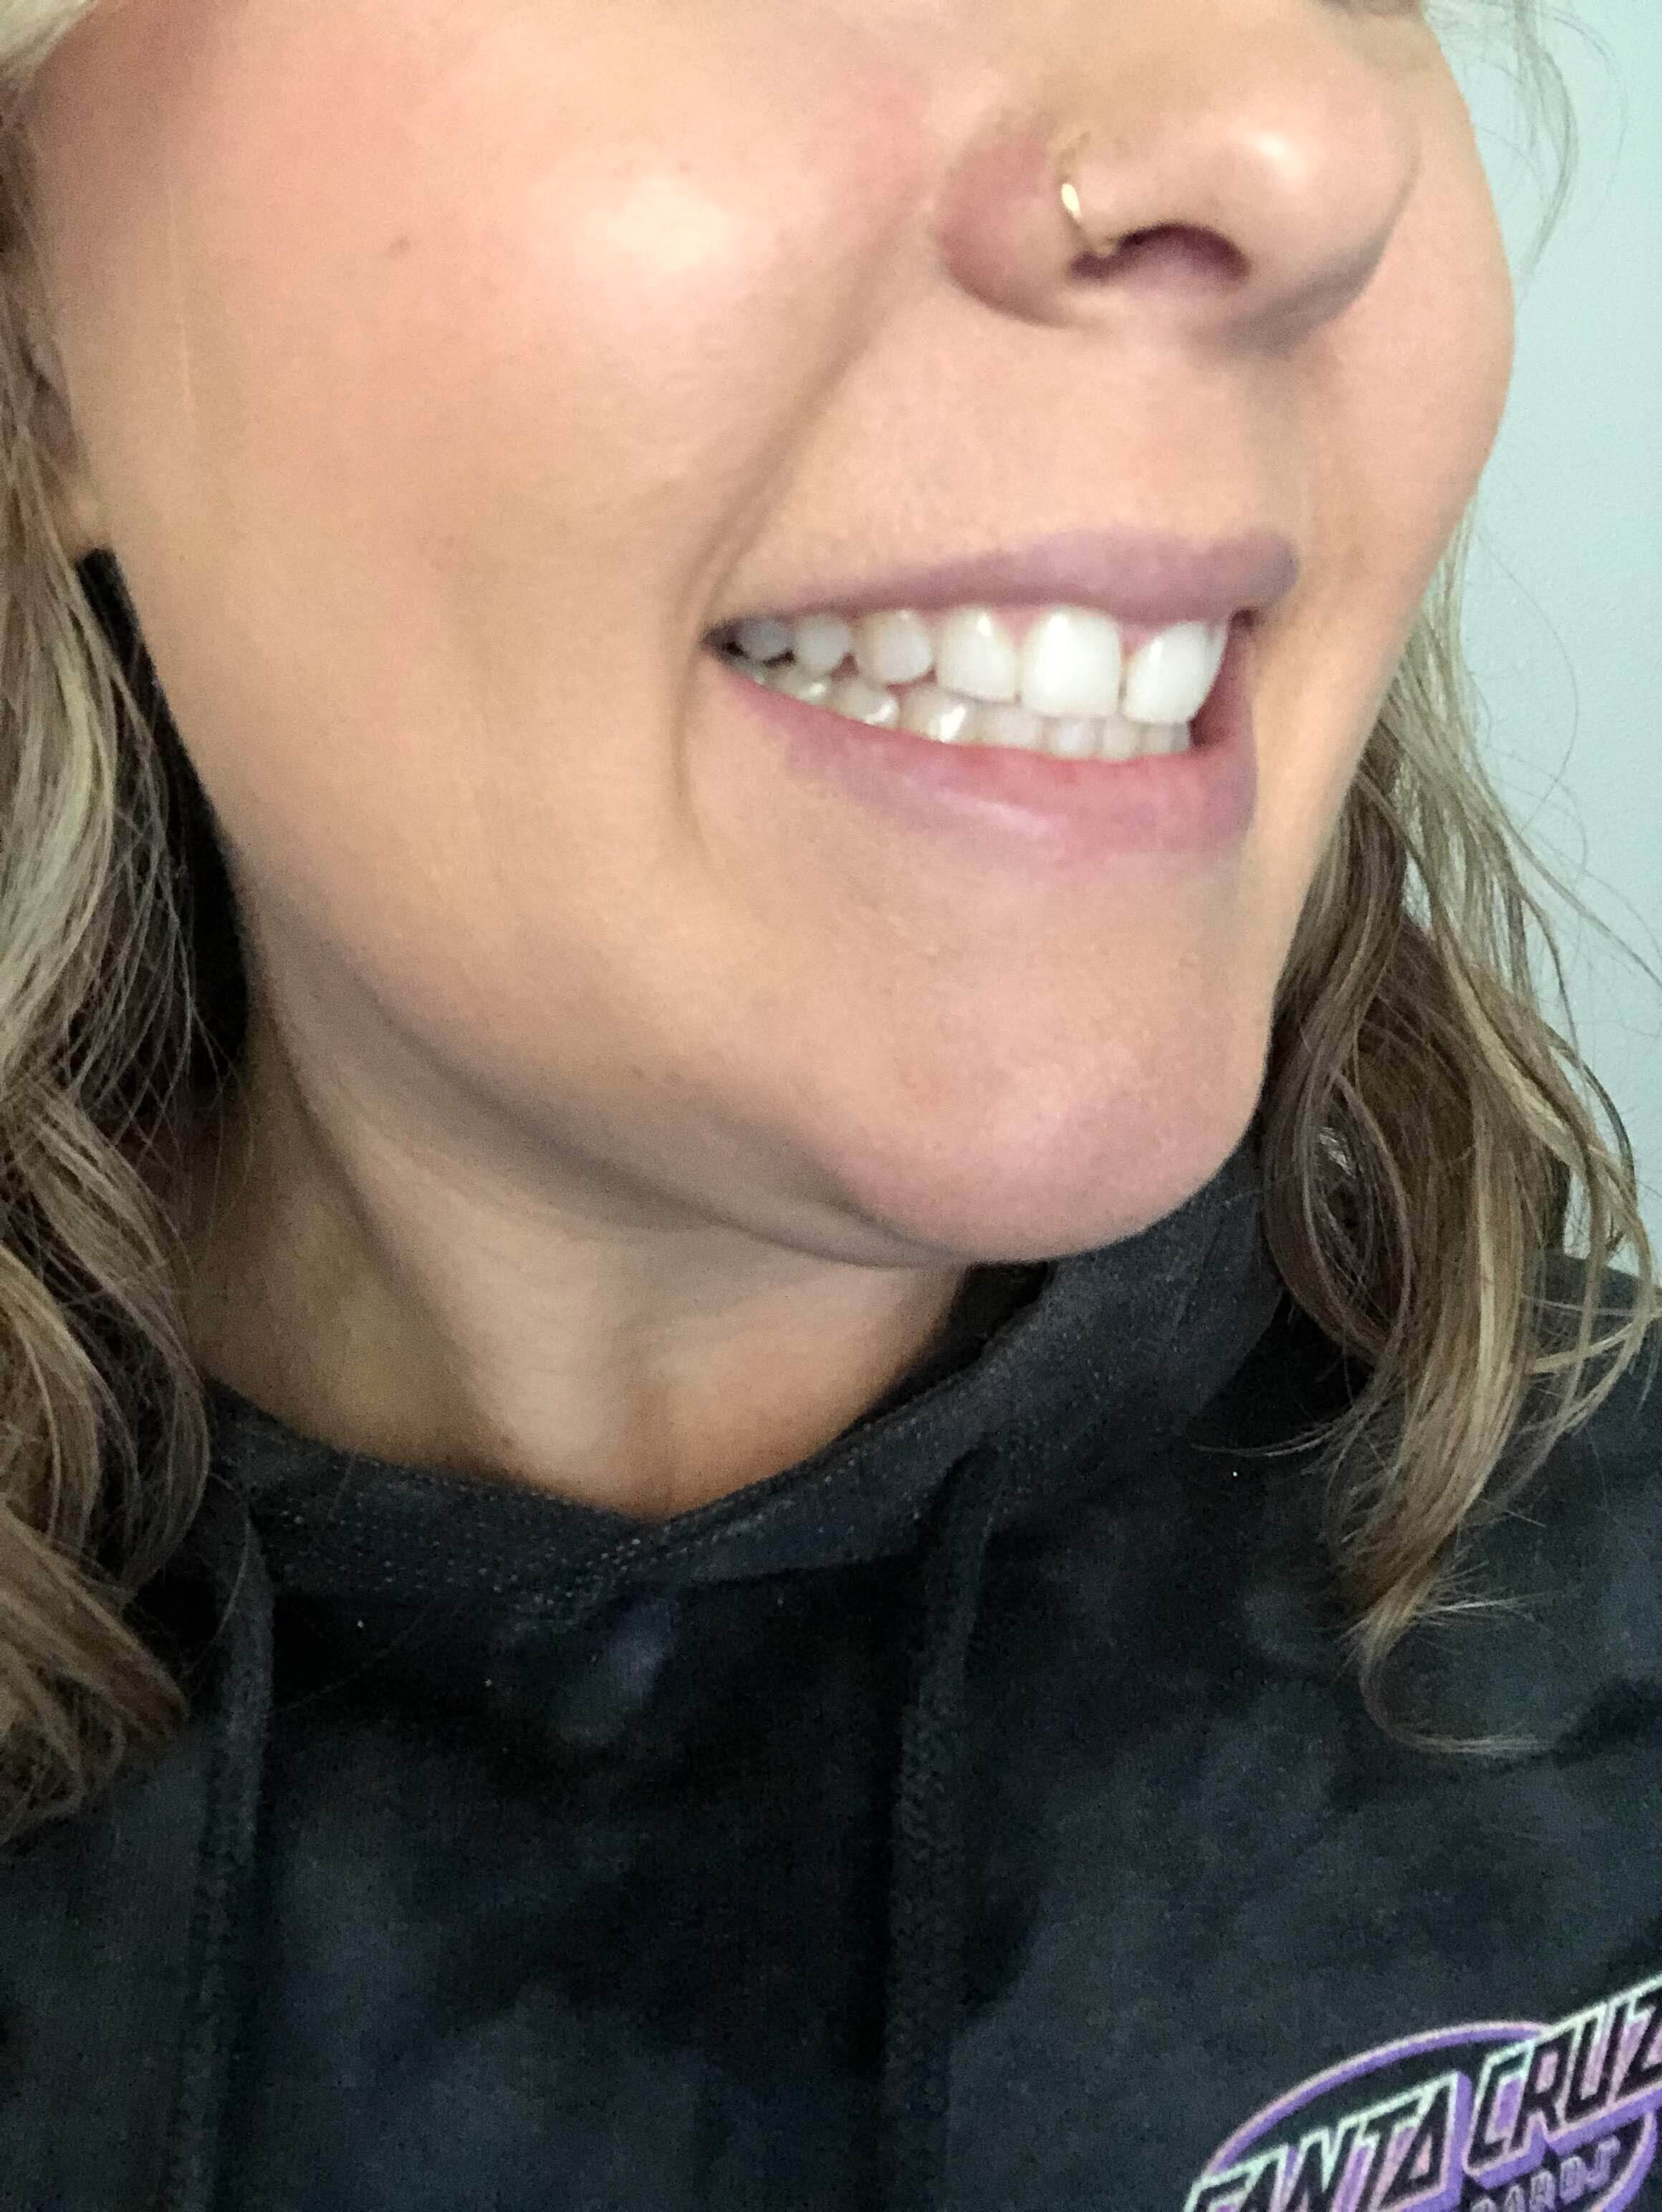
BEFORE
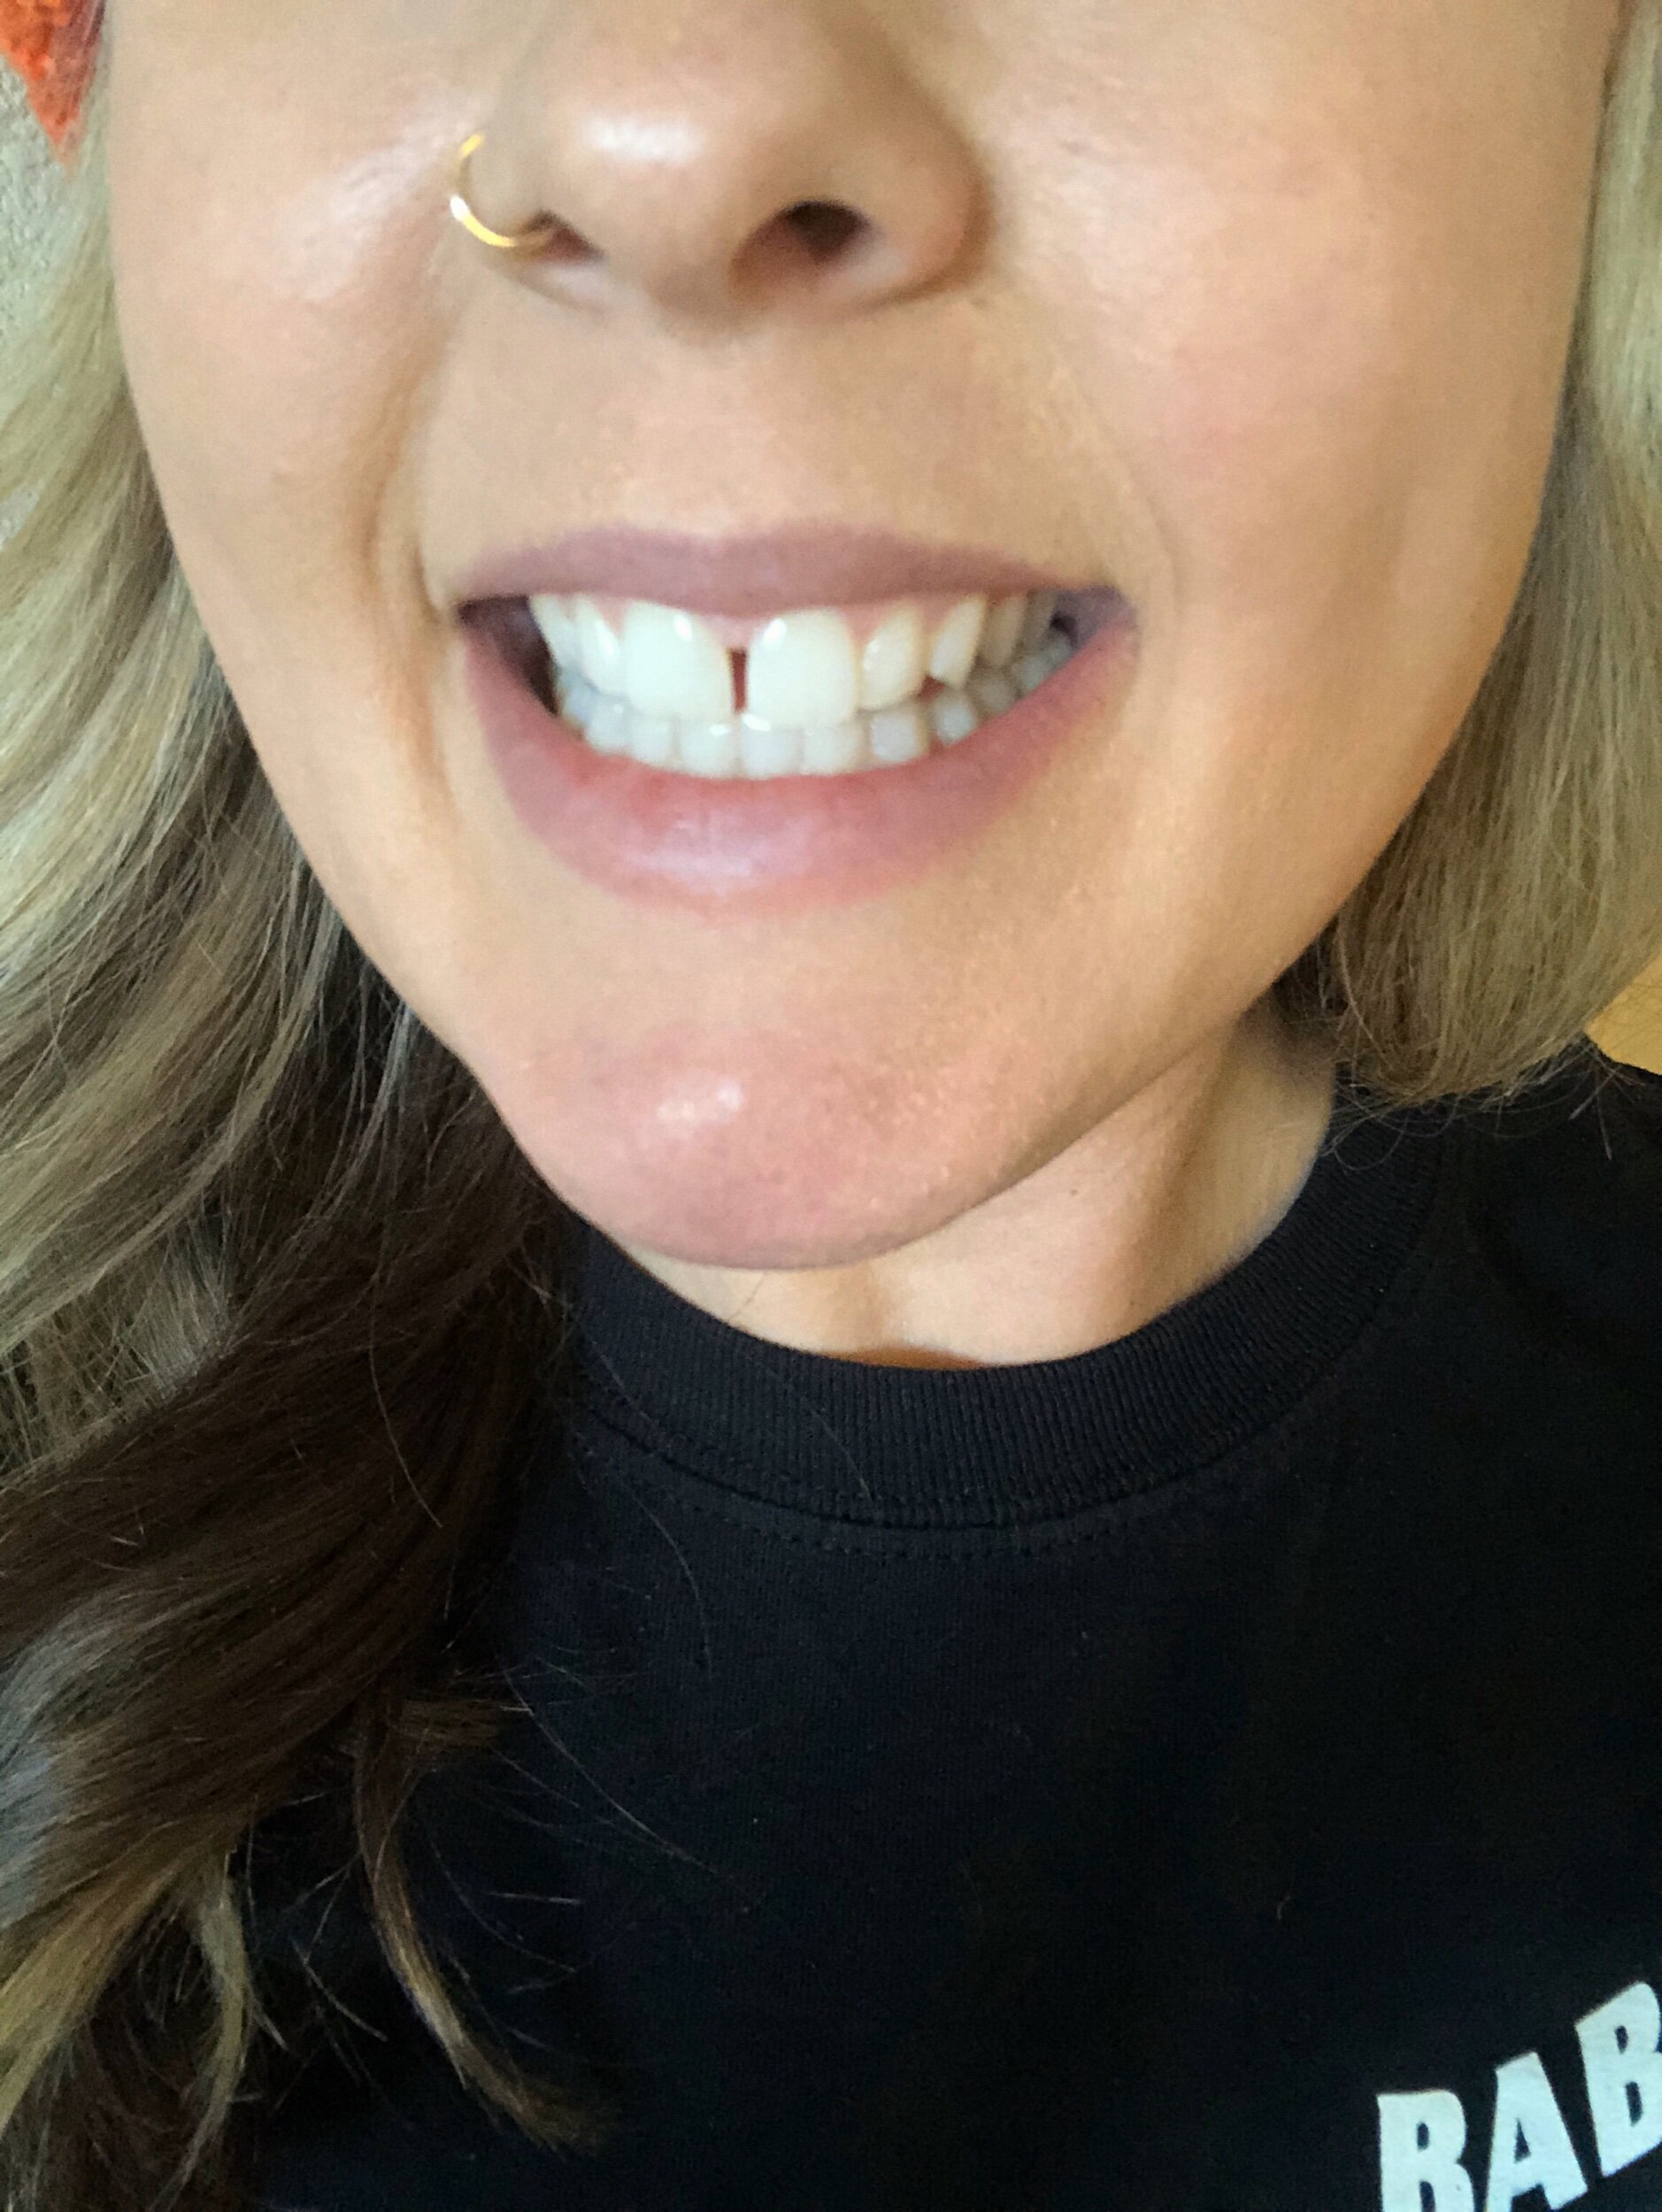
AFTER


TIPS AND RECOMMENDATIONS
Set yourself a reminder in the evenings before you get too settled in to your night routine so you have enough time for your whitening process.
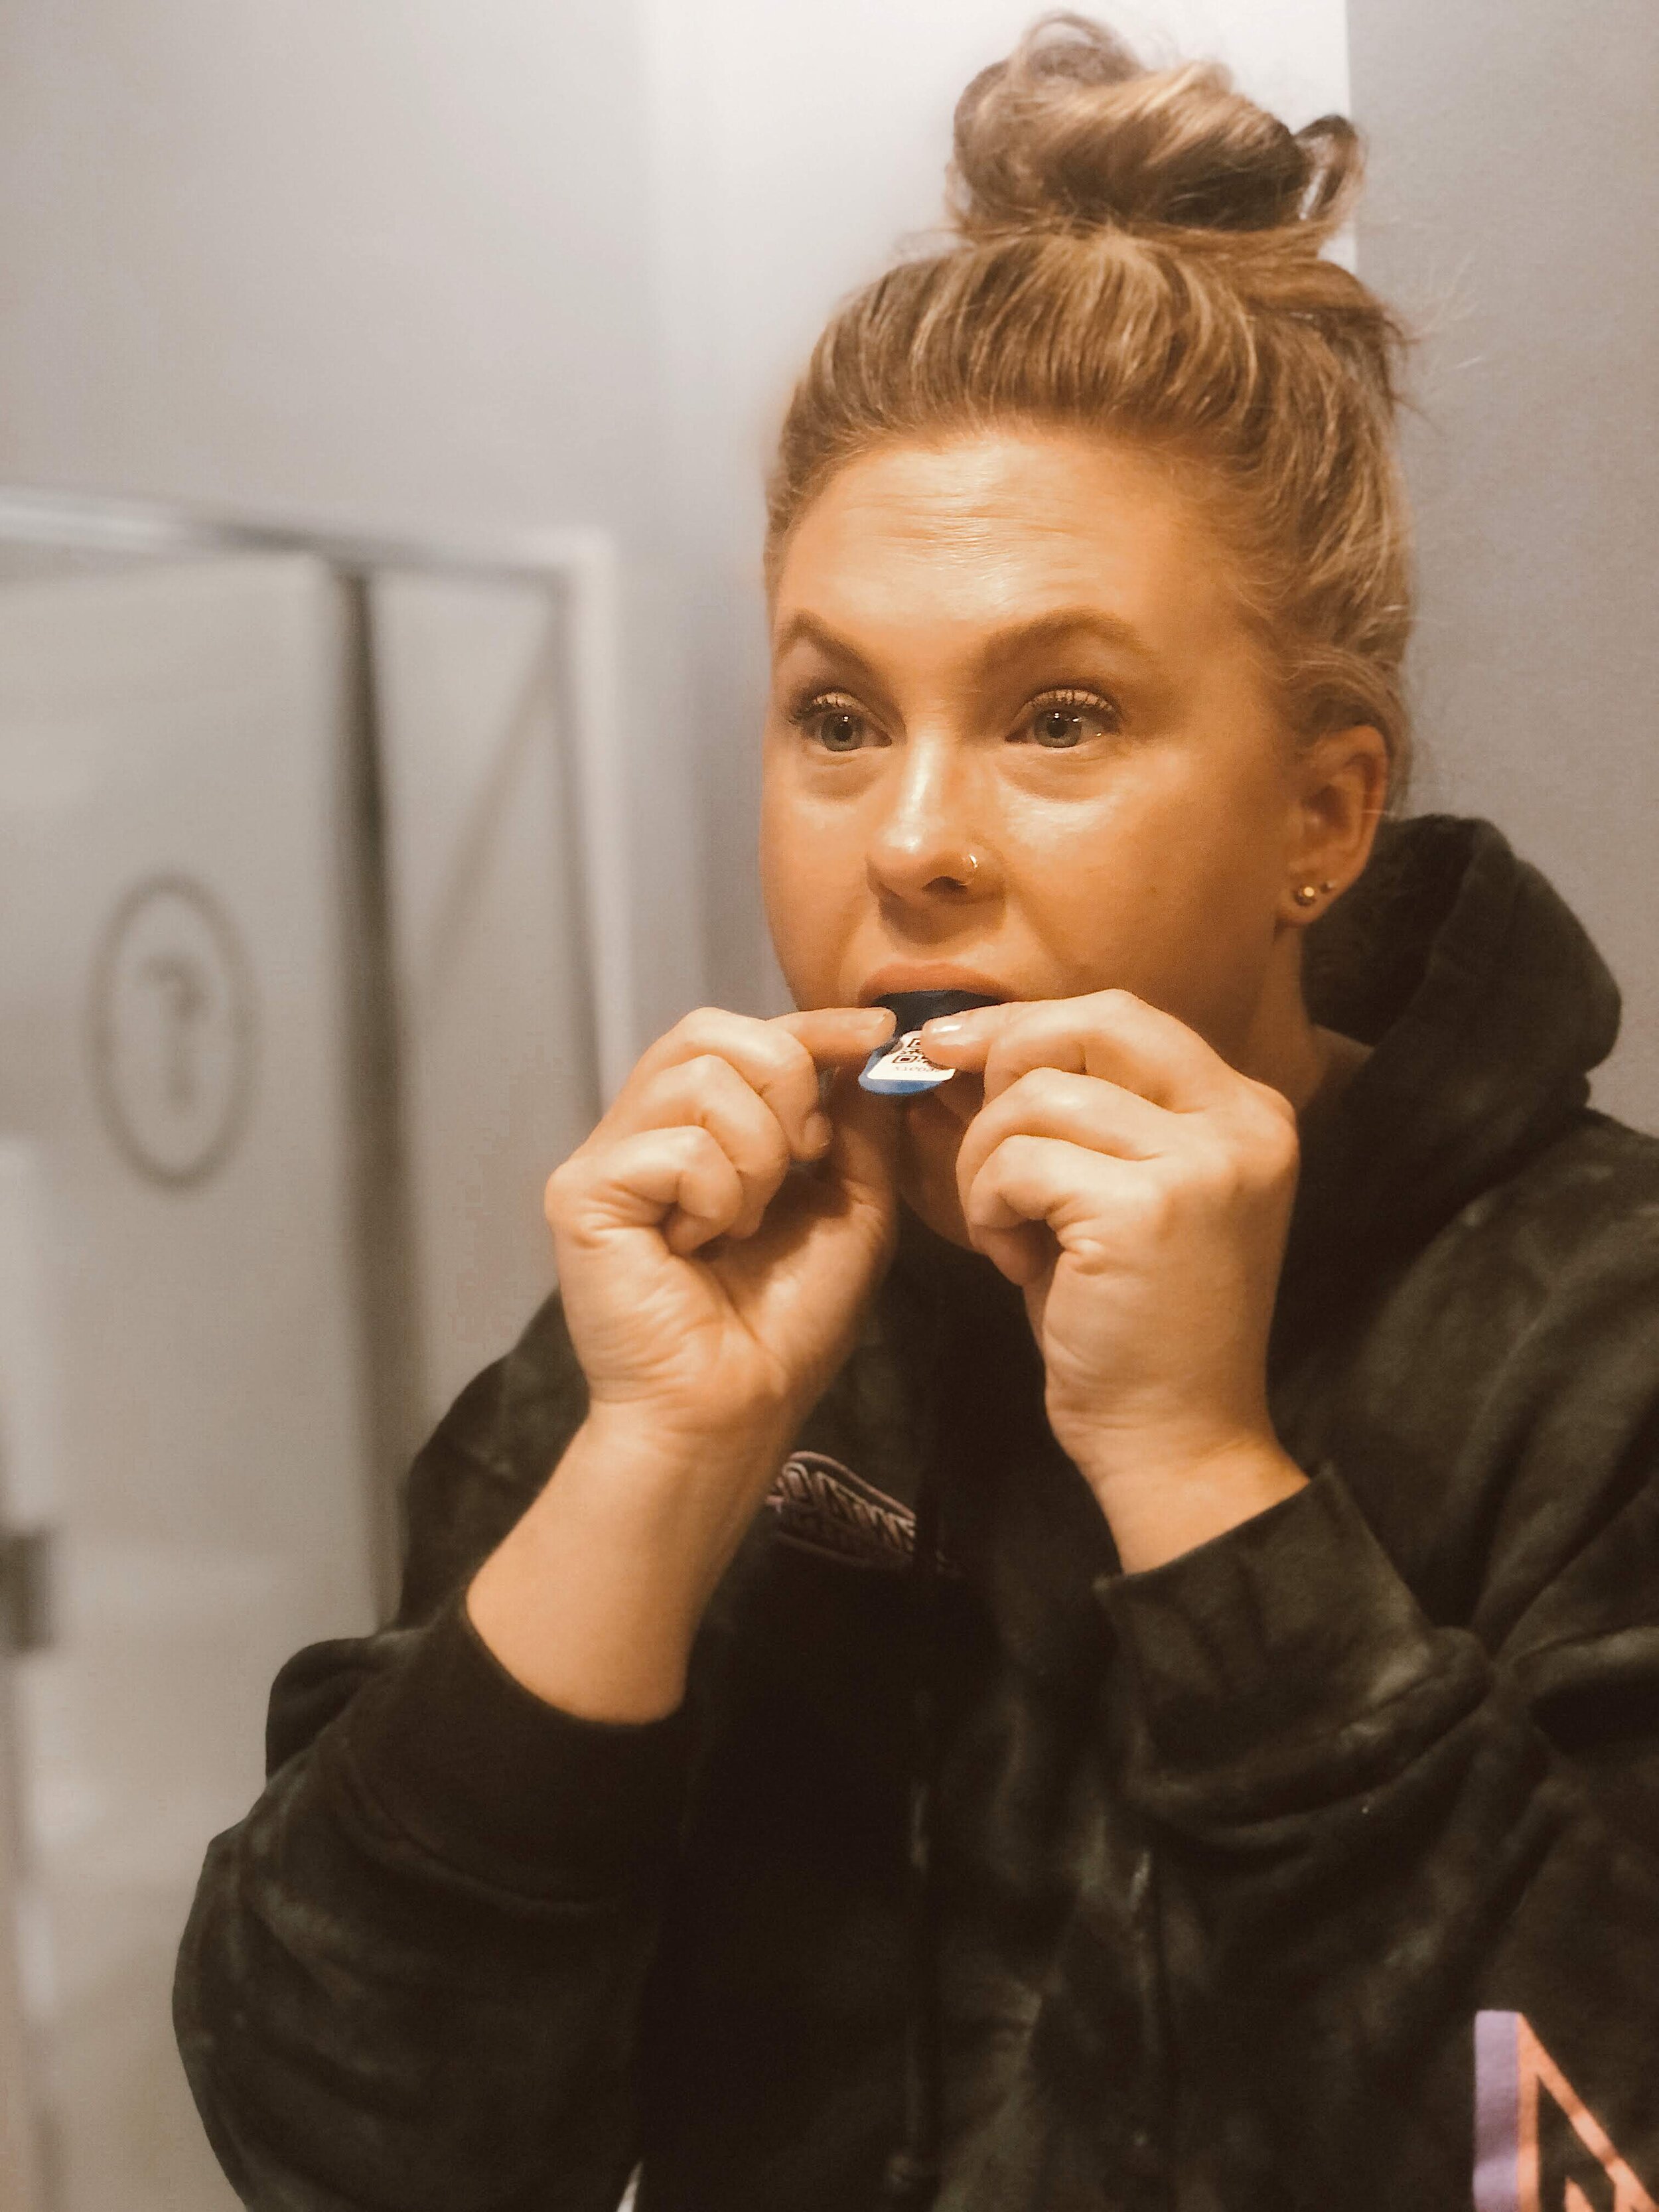
Get comfortable - Slip into your pjs and choose a movie or binge a Netflix episode to help pass the time during your whitening. I began making a routine of watching The Bachelor while I was whitening which definitely took my mind off the process.
Multi task your nightly beauty routine - Before whitening, I pull my hair up, wash my face, tone, apply a face mask and some lip balm. Once the trays are in, I take about 5-10 minutes to run my rose quartz roller over my face mask and take some nice deep cleansing breaths.
All teeth whitening systems can cause sensitivity to hot/cold. I highly recommend the desensitizing gel to create the best experience!
DON’T GO YET!
Shop the whole SMILE BRILLIANT system at 15% off store wide with code: HONESTCHATTER15
want your own WHITENING SYSTEM for free?
Enter my giveaway! www.smilebrilliant.com/g/honestchatter
GOOD LUCK!
***Smile Brilliant graciously provided me with a whitening system in exchange for my honest review and this post. I’m grateful for the opportunity to partner with Smile Brilliant. The opinions and experience I have shared in this post are my own and not of Smile Brilliant.***